
Bathroom on a Budget: What We DIYed and When We Called In the Pros!
Our old 1990's master bath needed a facelift.
When my husband and I bought the house, we knew that, at some point, we’d want to renovate it so it had more of a modern, spa-like feel. But if you know anything about bathroom renovations, you know they can cost big bucks and we needed to put money into other places in the house, like finishing the basement. So there it sat in all its dated glory for almost seven years. In the spring of 2019, we were lucky enough to be asked to participate in the Jeffrey Court Tile Challenge. Jeffrey Court would send us tile and, from there, we had six weeks to renovate a room of our choice (we chose our long-neglected bath, of course!).
BEFORE:


Before we even dove into the design and plan for the remodel, we made a budget. We didn’t want to spend a crazy amount for several reasons. 1. We knew we would most likely be re-selling our home in the next year and 2. While we wanted to make as many cosmetic updates as possible, we simply didn’t have a lot of money to put into the space. So we set the budget for around $6K, which was a pretty lofty goal given the improvements we hoped to make! We knew we’d need to put in some of our own elbow grease so we didn’t blow the budget on contractors.

THE PLAN:
Chose a high-impact tile and create a unique design for an accent wall
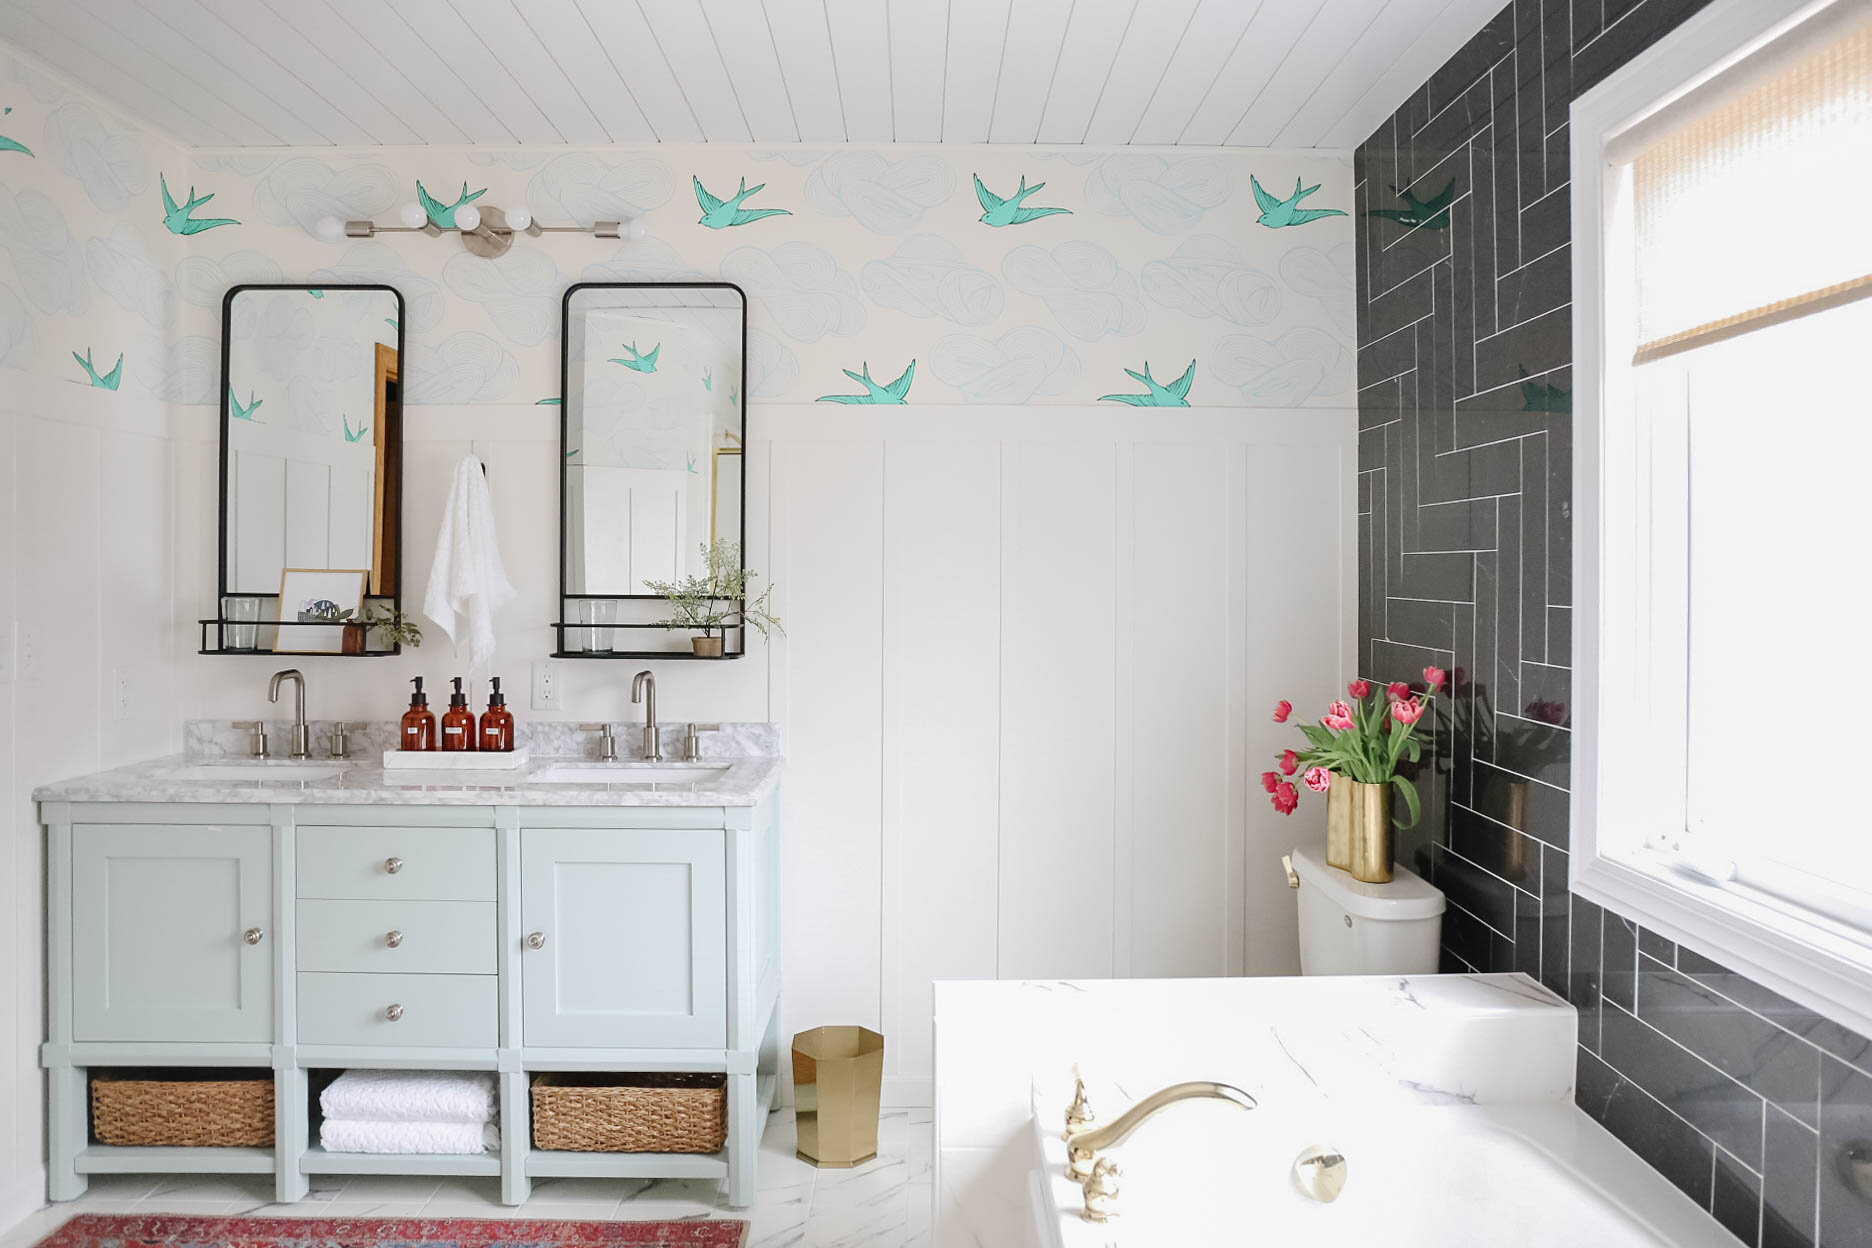
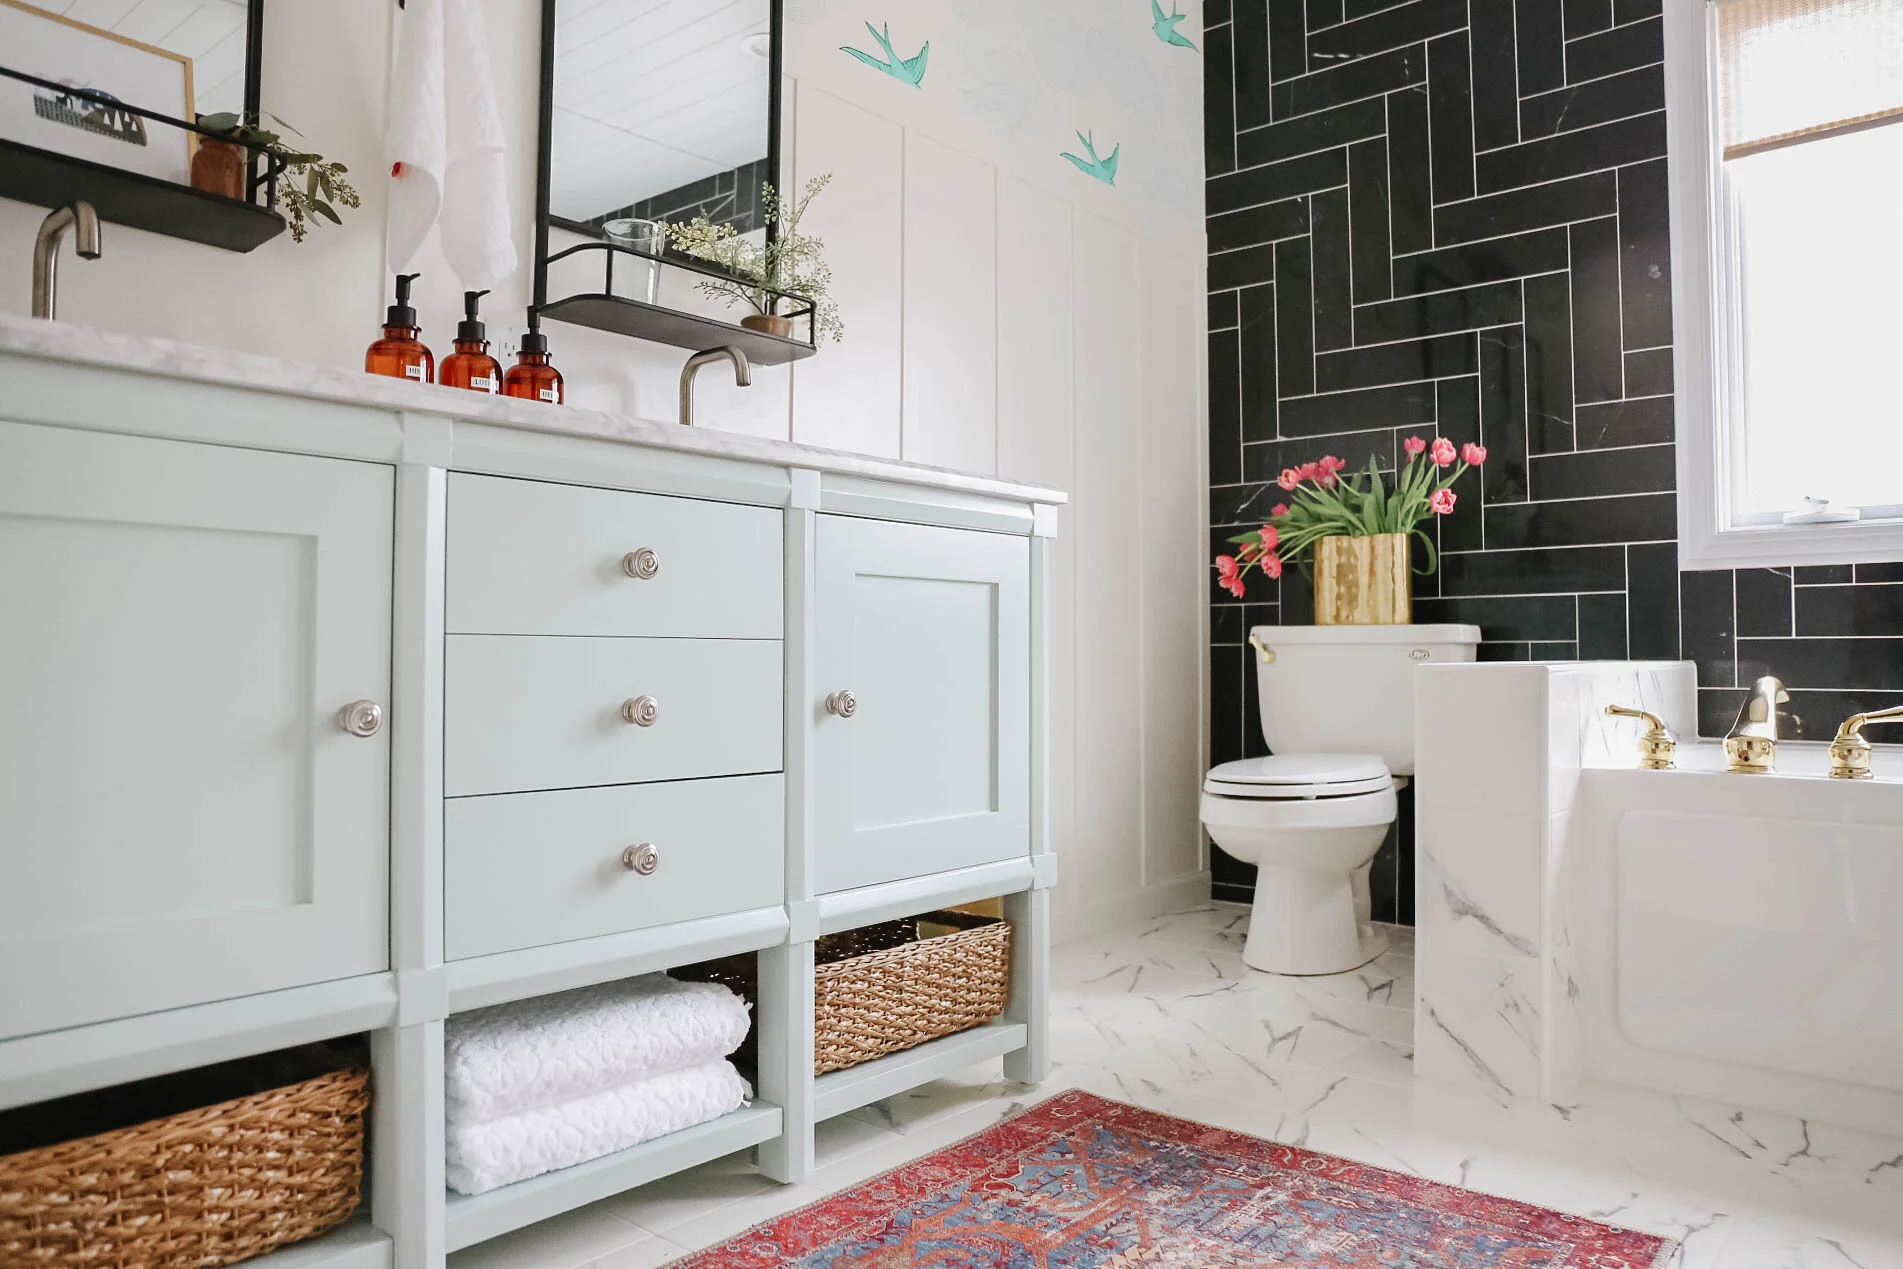
Change out the vanity to a double sink
Keep the existing tub BUT find a way to make the outdated drop-in tub feel more modern/up-to-date
Update the floor tile
Add more light to the space with an interesting chandelier
Get rid of the bulky armoire in corner
Keep the existing shower enclosure with hope that the brass would feel more modern with the surrounding updates
Add board and batten to the bottom walls
Add tongue and groove to the ceiling for texture/interest
Add a punch of pattern to the walls with a whimsy wallpaper
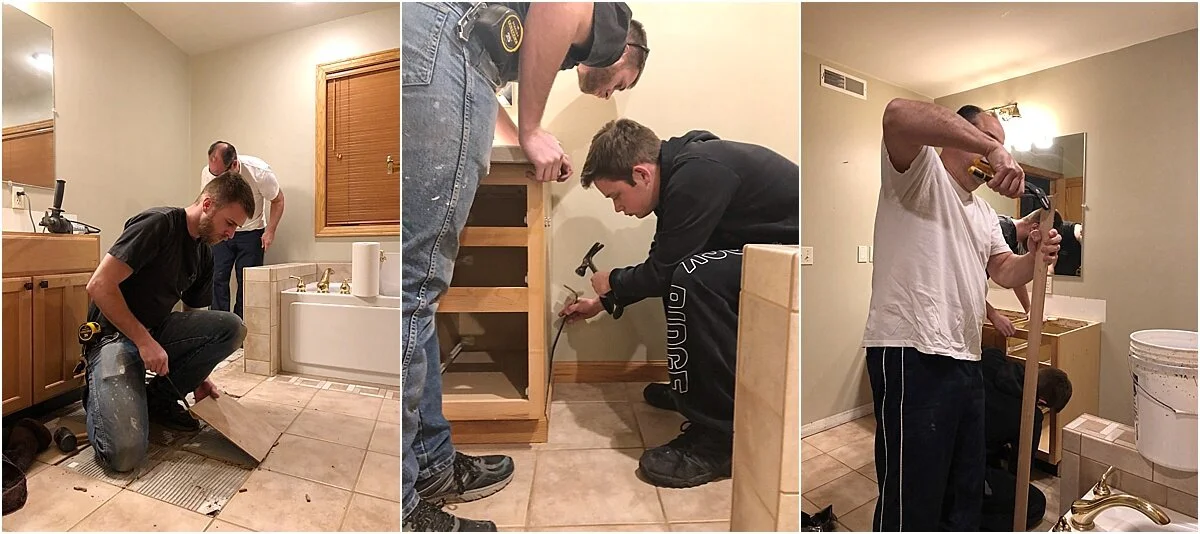
We knew we could save some money by DIYing some things from our list, and with the help of a super generous friend with power tools, we did!

WHAT WE DIYed:
All the demo of the previous tiled floors, vanity, mirror
Tongue and Groove ceiling
Board and Batten Walls
Wallpaper hanging
All the painting/caulking
We are not hardcore diyers. I know my way around a caulk gun, paint brush, and nail gun, but didn’t want to attempt crazy new endeavors at the expense of having it look less than perfect. After all, we wanted to add value to our home when the project was done, and neither my husband or I trusted ourselves with the major things!
Our friend came over, and together we figured out the amount of materials we needed for the tongue and groove ceiling and board and batten walls. I painted all the materials myself, and our oldest son and I helped our friend with the installation.


WHAT WE HIRED OUT:
Electrical
Plumbing
Tile Installation
There are some things that just need to be left to the professionals. We didn’t dare take a chance and mess up the meticulously laid-out pattern on the marble wall or floor. I know there are some killer DIY people out there that just crush it the first time around, and kudos to them, but we know our limits and we let the pros tackle the tile!

WHAT WE REPURPOSED:
Thankfully there was nothing moldy or falling apart in the bathroom so there were some things we could reuse. The toilet wasn’t outdated, and we were 100% confident we could make the other items work in the end.
We priced out a new shower enclosure and door and due to the size of the existing, we would have had to go custom, which meant $$$. Although not completely ideal, we decided to embrace the brass and make it work.
BEFORE:

AFTER:
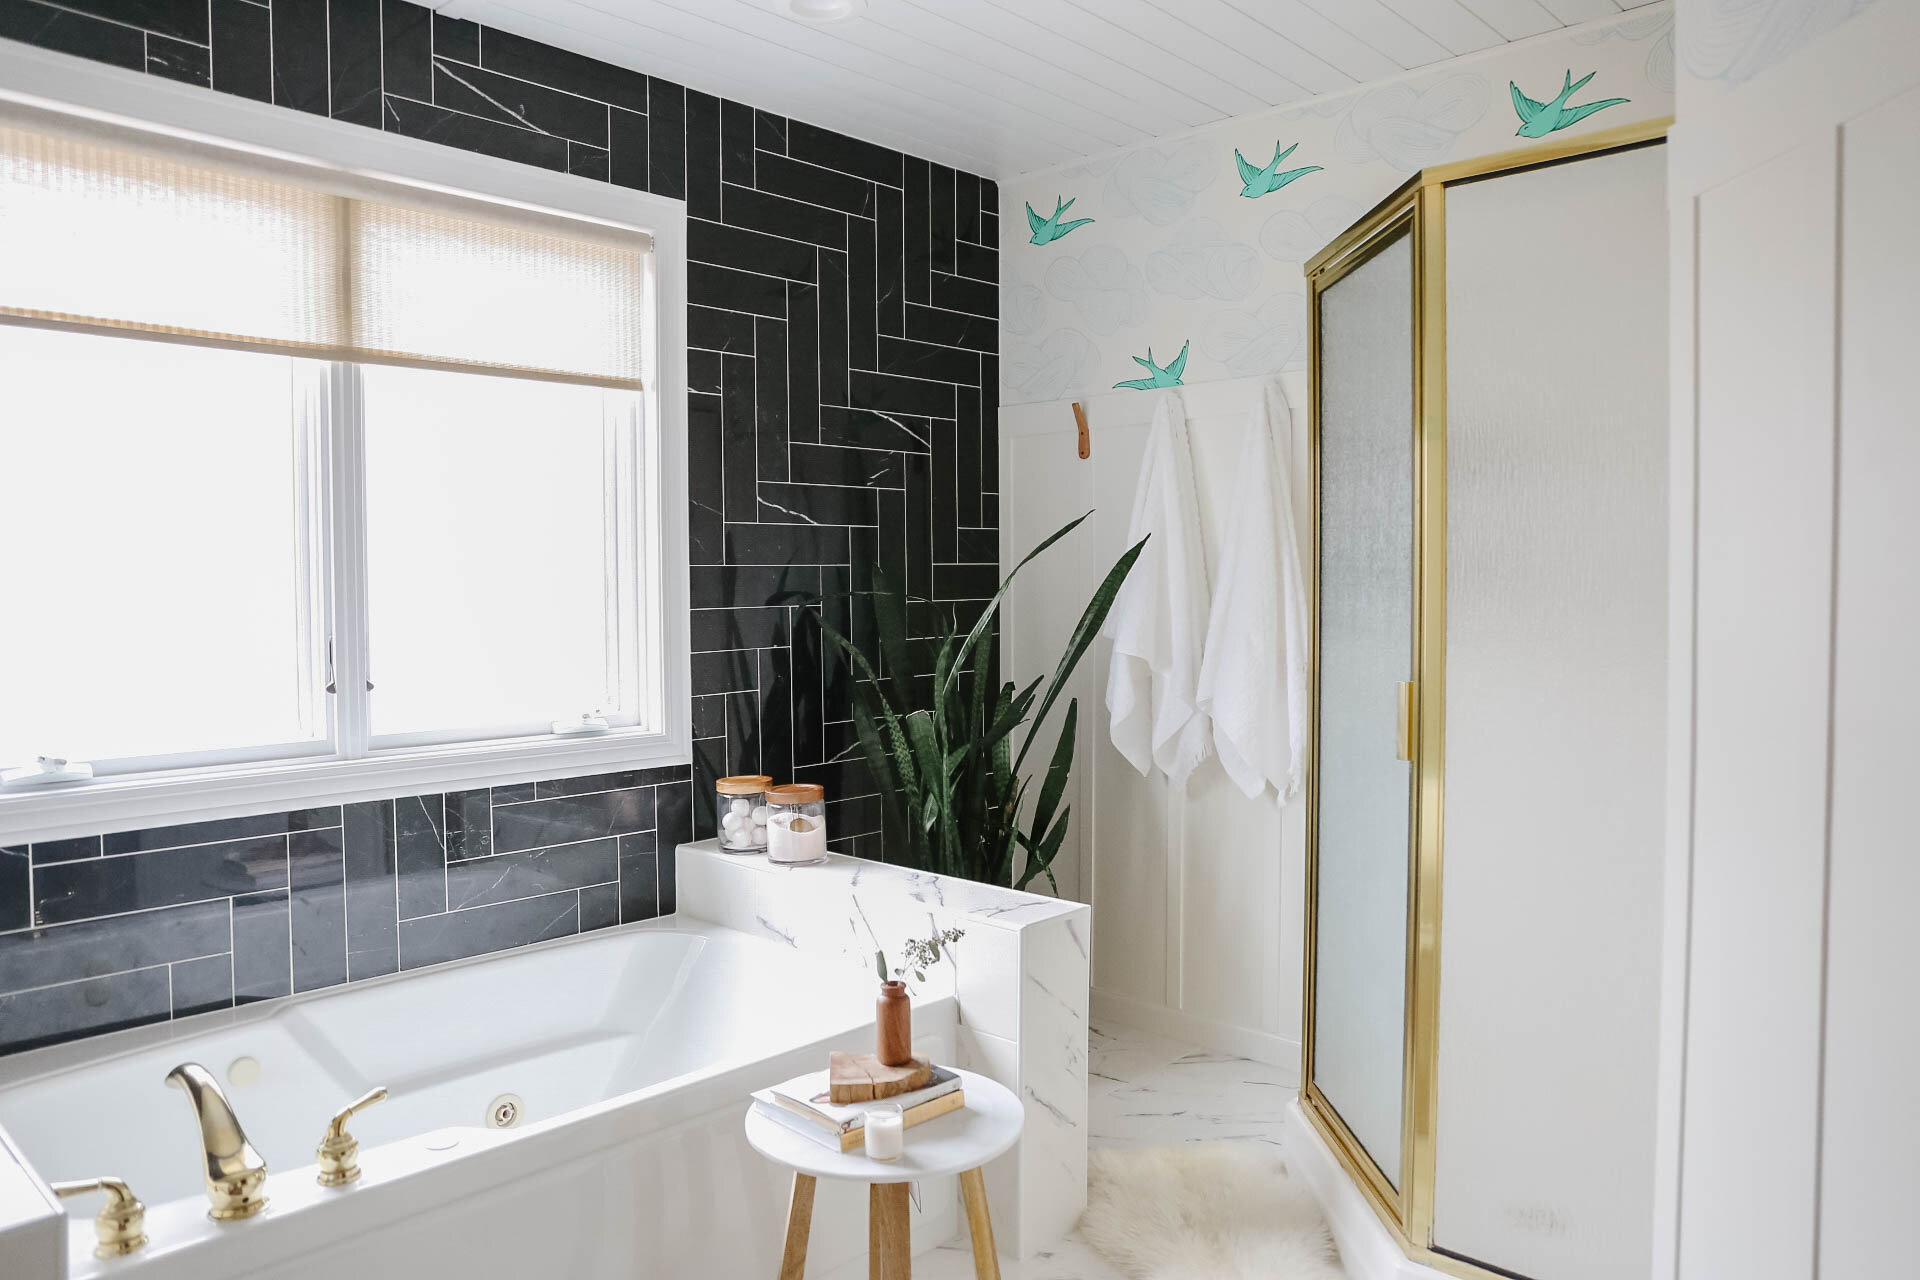
The drop in tub was the other eyesore in the room but we walked through every scenario and, in the end, it made the most financial sense to leave it. As a bonus, the tile installers were confident they could just go over the existing tile surround with the new tile because the old tile was in perfect shape and nothing was moldy, wet, or broken.
BEFORE:

AFTER:

The trim and doors were all the same golden oak color as in the rest of the house. To rip everything out would have made the master bedroom look out of place, and we just didn’t want to dive into more projects. Instead, we carefully removed the trim, sanded, primed, and painted it a fresh coat of white. The door stayed the same oak color because I ran out of time!
The plumbing fixtures remained the same because again, they were in mint condition. The new vanity would be the only area that got new faucets since we were already upgrading the area and would need two matching faucets.

BREAKDOWN OF COSTS:
Let’s get down to the nitty gritty in numbers.
New Double Vanity: $967
Plumbing labor expenses: $900 This was for them to set the new toilet and set the new vanity only. Professional fees can add up super quickly!
Electrical labor: $250 Included added a new overhead light (there was easy access from the attic right above the bathroom), an upgraded GFI outlet, and the installation of the new vanity fixture.
Light Fixtures – Vanity light $298.04 and overhead light: $149.99
Board and Batten Walls – (Materials only – DIYed installation) $120
Tongue and Groove – (Materials only – DIYed installation) around $600
Paint – (Materials only – DIYed labor) $90
Shade for Window – $55 (in-stock and cut to size from Home Depot)
Tile Cost – Sponsored
Tile Labor – $2,380
Mirrors – Sponsored
Plumbing Fixtures – $149.98 (Vanity only)
Wallpaper – (Materials only -DIYed installation) $300.19
Total Renovation $6,160.02